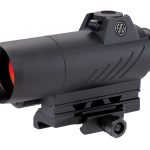
With an optic budget topping out at $400 for a red dot sight, the SIG Romeo 7 not only fills the need, it surpasses optics costing hundreds more. The Romeo 7’s 30mm red dot is optimal for most, and the controls are easy to use. Just a few of the benefits include easy sight in, simple to mount, included low-mount option, and, best of all, SIG quality.
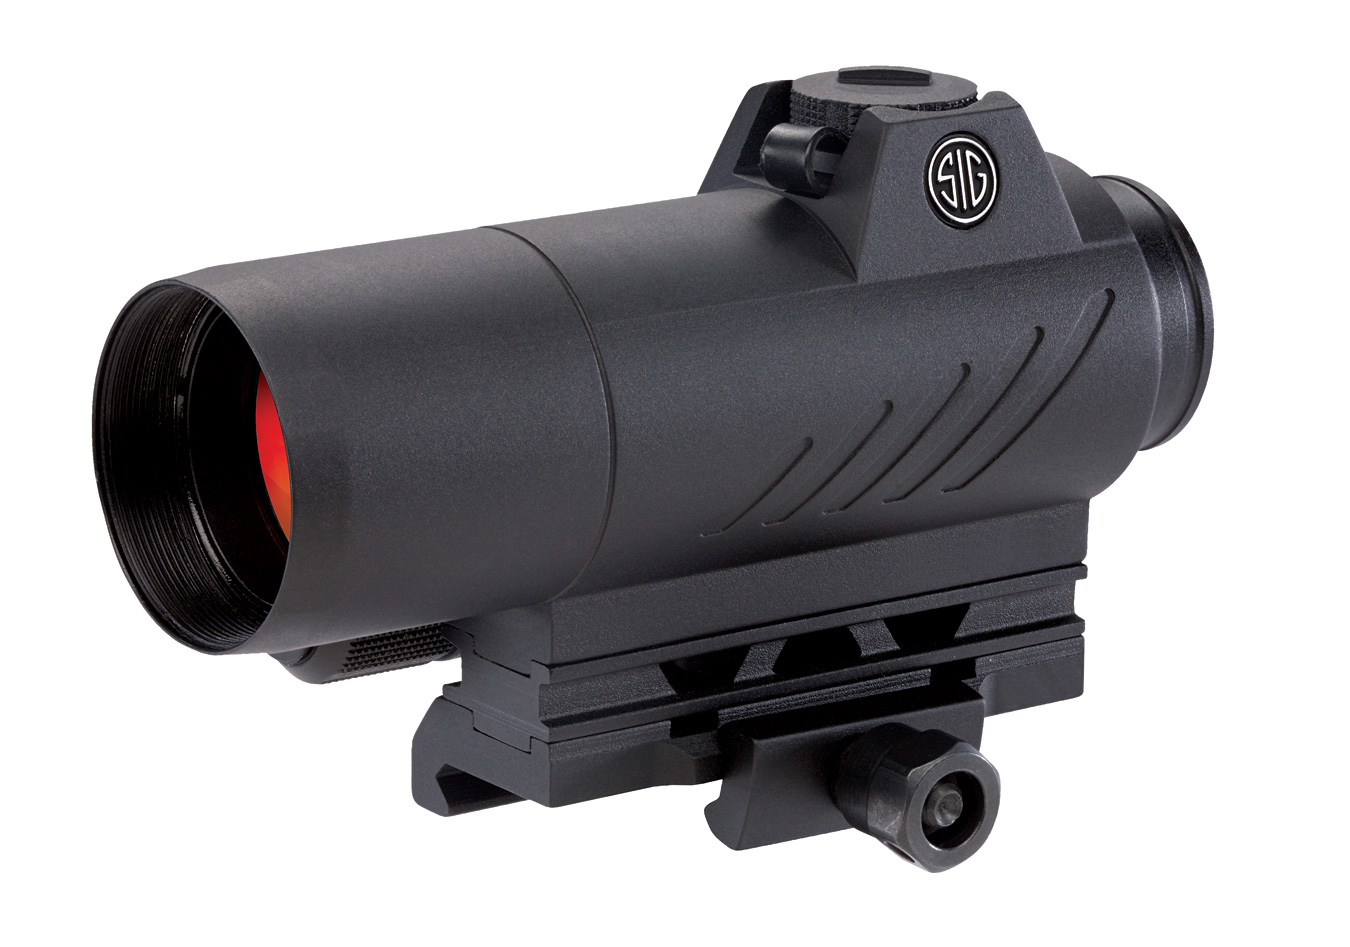
I have searched for a good quality, but affordable red dot sight, to mount on my personal ‘alarms and excursions‘ rifle. The scope needed to fit into the budget. In Red Dot sights under $400, the SIG Romeo 7 fills the need. The 30mm red dot is optimal for my use, and the controls are easy to use. The Romeo 7 is easily sighted in, simple to mount, comes with a low mount option if needed, provides SIG quality, and offers a surprisingly long 60,000 hour battery life on an AA battery.
An automatic on and off feature and an easy to pick up red dot really cinched the deal. The Romeo 7 has nine settings including two for night vision. A 20 or 25mm red dot is ok, but for the most rapid acquisition, I like the 30mm better. I am not in favor of the weight—at 12.5 ounces it isn’t a lightweight.
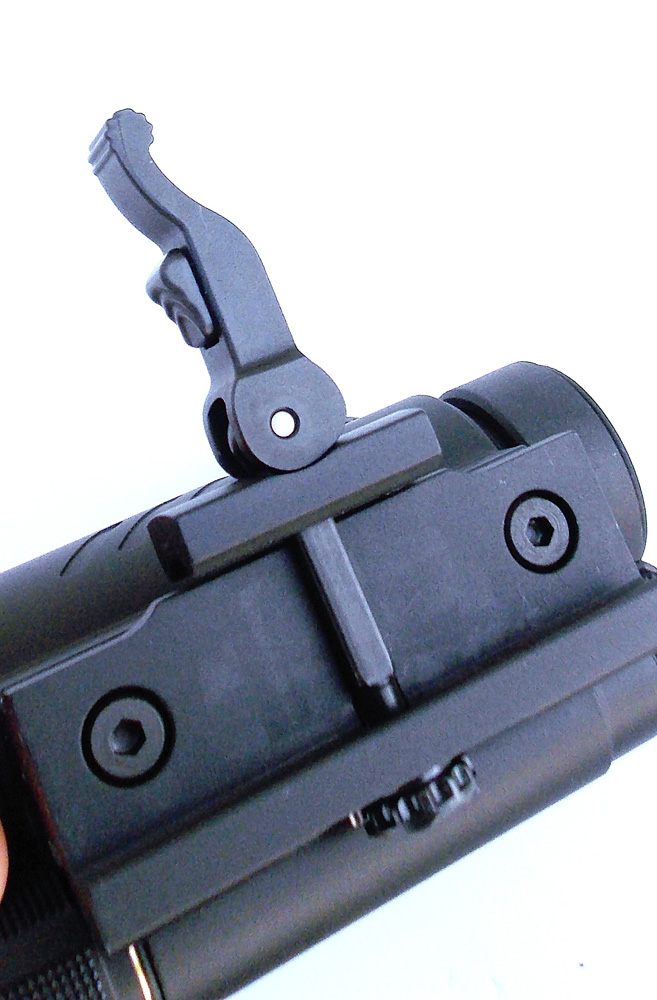
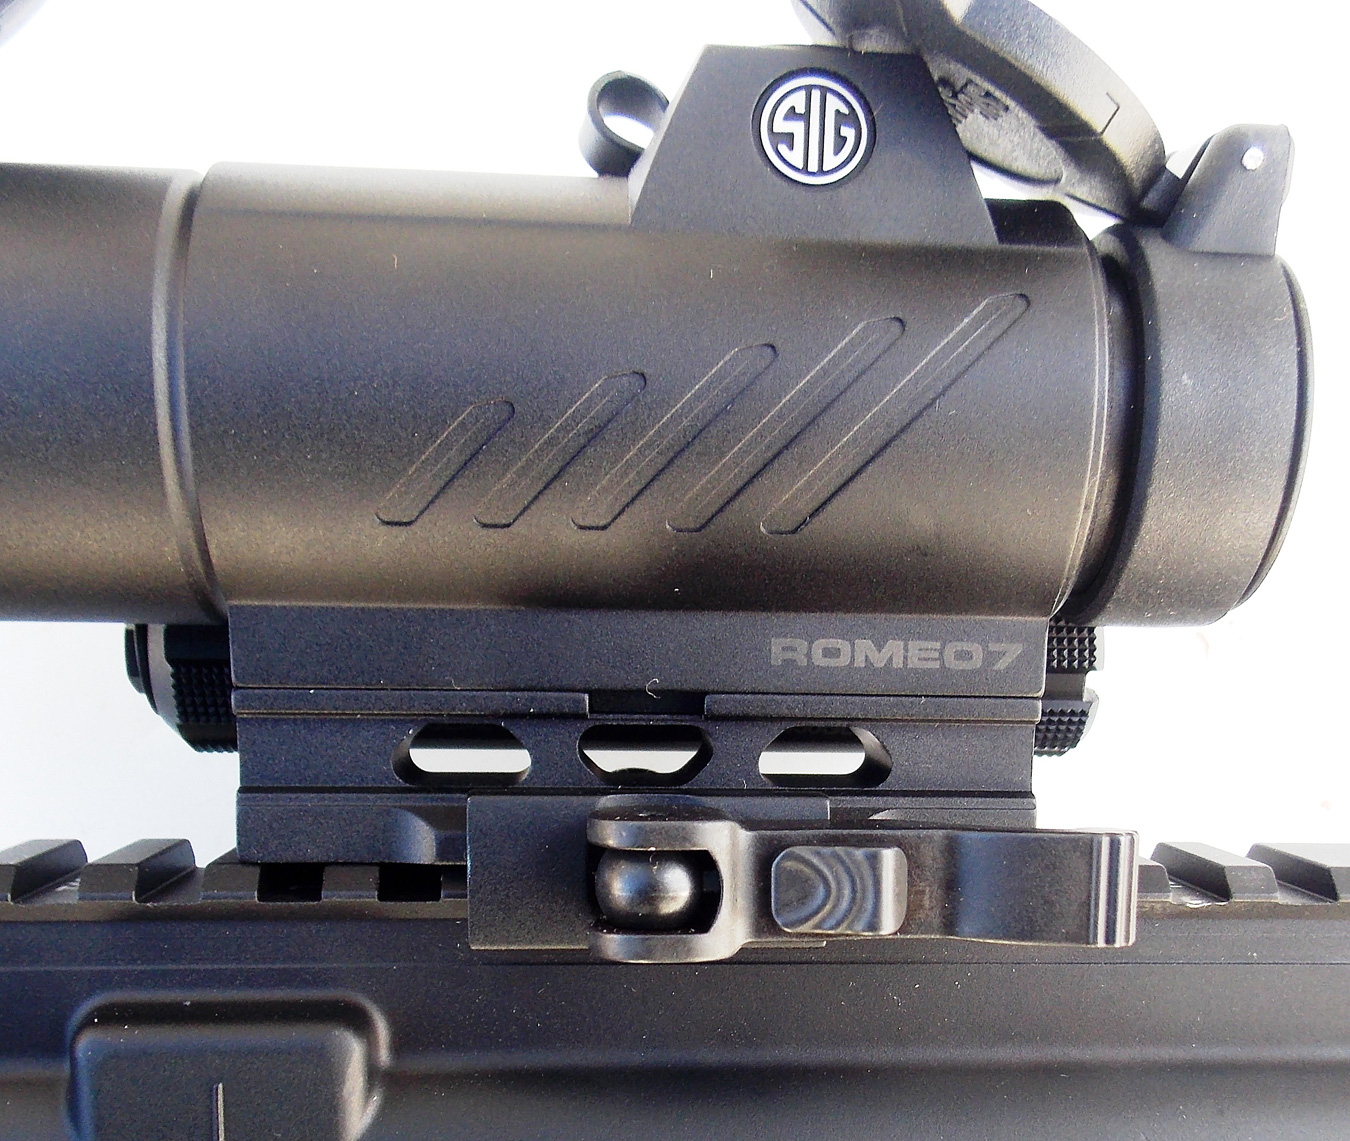
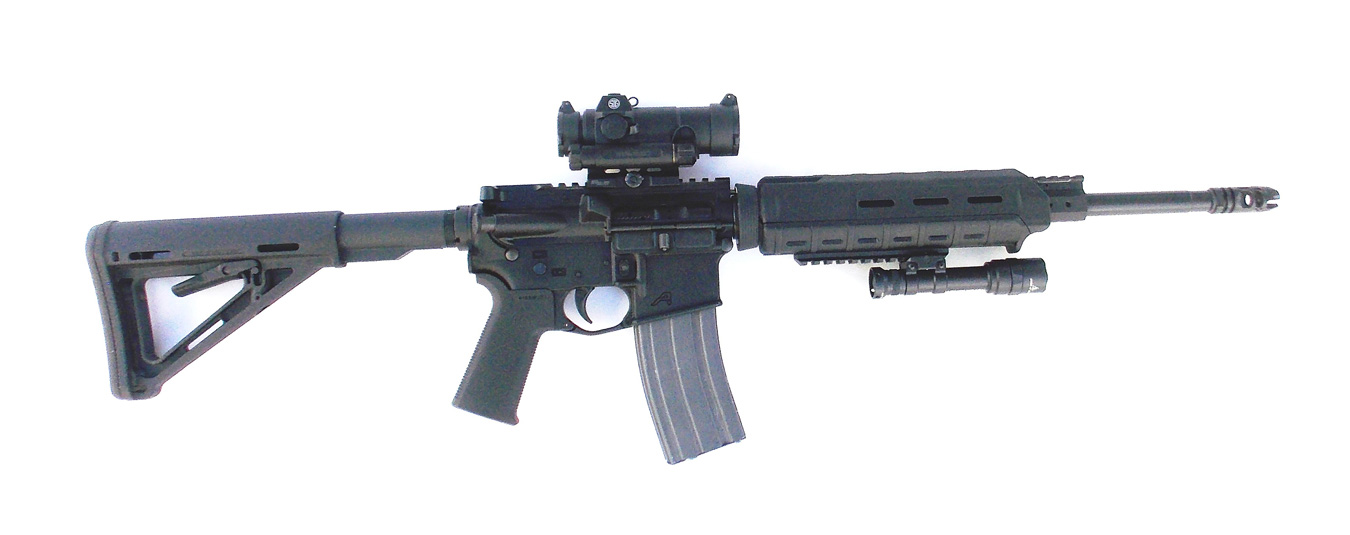
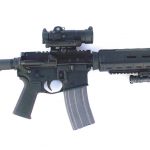
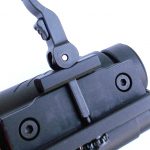
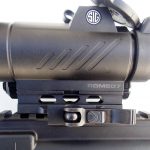
The adjustment controls are easily addressed. Simply grasp the raised section of the caps to turn, pull them away, and the controls are exposed. The Romeo 7 came with a quick detach mounting bracket and a low mount bracket for other uses. I used the quick detach on my AR-15 rifle. The quick detach mount is solid and offers excellent rigidity. The weight of the Romeo 7 isn’t an issue on this well-balanced rifle. A single AA battery powers the red dot scope.

The wonder of the scope is that the battery powers the red dot for 60,000 hours. When the Romeo 7 is mounted, the rotary dial on the right allows adjustment of the red dot’s brightness from dim and fine to a bright dot for close-range work. It is quite easy to quickly adjust the red dot once you have become familiar with the adjustment.
This optic has a lot going for it. The intangibles include the SIG reputation and warranty and the tangible performance is proven on the firing line. The adjustment caps are easily removed, but this isn’t something you will have to do often. The adjustment knob is well located, easy to use quickly, and the red dot offers excellent aiming points.
The SIG Romeo 7 was mounted on my favorite rifle, and the red dot easily sighted in. I found a versatile and effective combination. I sighted the rifle for the accurate and effective Gorilla Ammunition .223 Remington 69-grain JSP. Using the Sierra MatchKing bullet, this is a combination that offers excellent wound ballistics. On the firing range, I ran eight magazines in the rifle, compromised for the most part of Winchester USA 55-grain FMJ loads for economy, and a few JSP loads for long-range work.
The red dot is brilliantly fast and allowed true precision at all ranges. I had a surprise firing off the bench at 100 yards. The rifle has proven capable of 1 MOA when the shooter behind the glass has a good day. With the red dot at its lowest setting, I was eating up the x ring at a long 100 yards from the benchrest. A good quality red dot is a joy to fire and use, and the Romeo 7 is an eye opener for affordable performance.
After firing several magazines on the range in initial testing and many more since, I find the SIG Romeo 7 a good option, and one that will serve well.
How to Properly Sight-In the Red Dot Sight
Red dot sights direct a laser toward a specially reflective lens. The red dot is centered in the lens. Place the red dot on the target, press the trigger, and you’ll have a hit. Study the red dot sight’s owners manual to be certain you know the features of the sight, and how to properly use the red dot.
It is important to know how to adjust your individual red dot sight. It is important that the red dot is properly attached to the rail. Be certain the scope is firmly anchored or your results will be poor. Windage adjustment is on the side of the red dot body and elevation is on the top of the body. Windage is the horizontal adjustment and the elevation is low and high on the target.
All red dots are not created equal and the number of clicks for movement on the target may not always be the same. As a rule, the movement of the adjustment knob will equal a half inch on the target at 100 yards. Remember elevation, vertical, windage, horizontal, and windage is on top of the scope. Once the red dot is centered in the target, it seems easier to adjust elevation.
I often use a target with a bright and easily visible center. I may use a green or a black center when sighting in the red dot. If you are going to sight the rifle for the most common defense range setting—25 yards—place a target at this range. I then carefully fire a three-shot group to determine where the red dot is sighted. The target should be a least 12 x 12 inches, so you will be on the target when sighting in the rifle.
Carefully, mark the position of your shots on the target and adjust the sight for what you think will bring the shots closer to the center. Next, if your ability allows, you may even fire one shot at a time until you have the rifle sighted vertically and horizontally. I use an inexpensive range load when conducting this drill. My own handloads, using a Sierra 55-grain FMJ and Varget powder, are plenty accurate and give me confidence in sighting the rifle in. Winchester 55-grain FMJ is an affordable factory load. Once the zero is confirmed with practice loads, we may choose to set the scope for our hunting, competition, or defense loads.
I may use the 69-grain load, but if I were using 75- to 77-grain loads, I would have to re-sight the rifle. Some rifles fire to the same point of aim with most bullet weights at modest range but once we reach 75 yards, the situation is different. Since red dot sights are primarily intended for closer range work and defense use, this isn’t a great concern. Test the point of aim and point of impact at closer ranges if the rifle is to be used for personal defense and home defense.
Have you fired a SIG optic? What is your impression of the SIG Romeo 7? What is your favorite red dot under $400? Share your answers in the comment section.
Sign up for K-Var’s weekly newsletter and discounts here.



Love your take on the Romeo 7! As a Sig Sauer red dot newbie, I’m impressed by the 30mm dot and your “eating up the X ring” comment at 100 yards. My eyes aren’t the best with irons anymore, so the faster aiming has me seriously considering this bad boy. How durable is it compared to other optics in that price range? I’m a bit rough on gear, so that’s a big factor for me.